- Meet the DIY Handy Mom
- Halloween Costumes
- How-To
- Recipes
- Breakfast
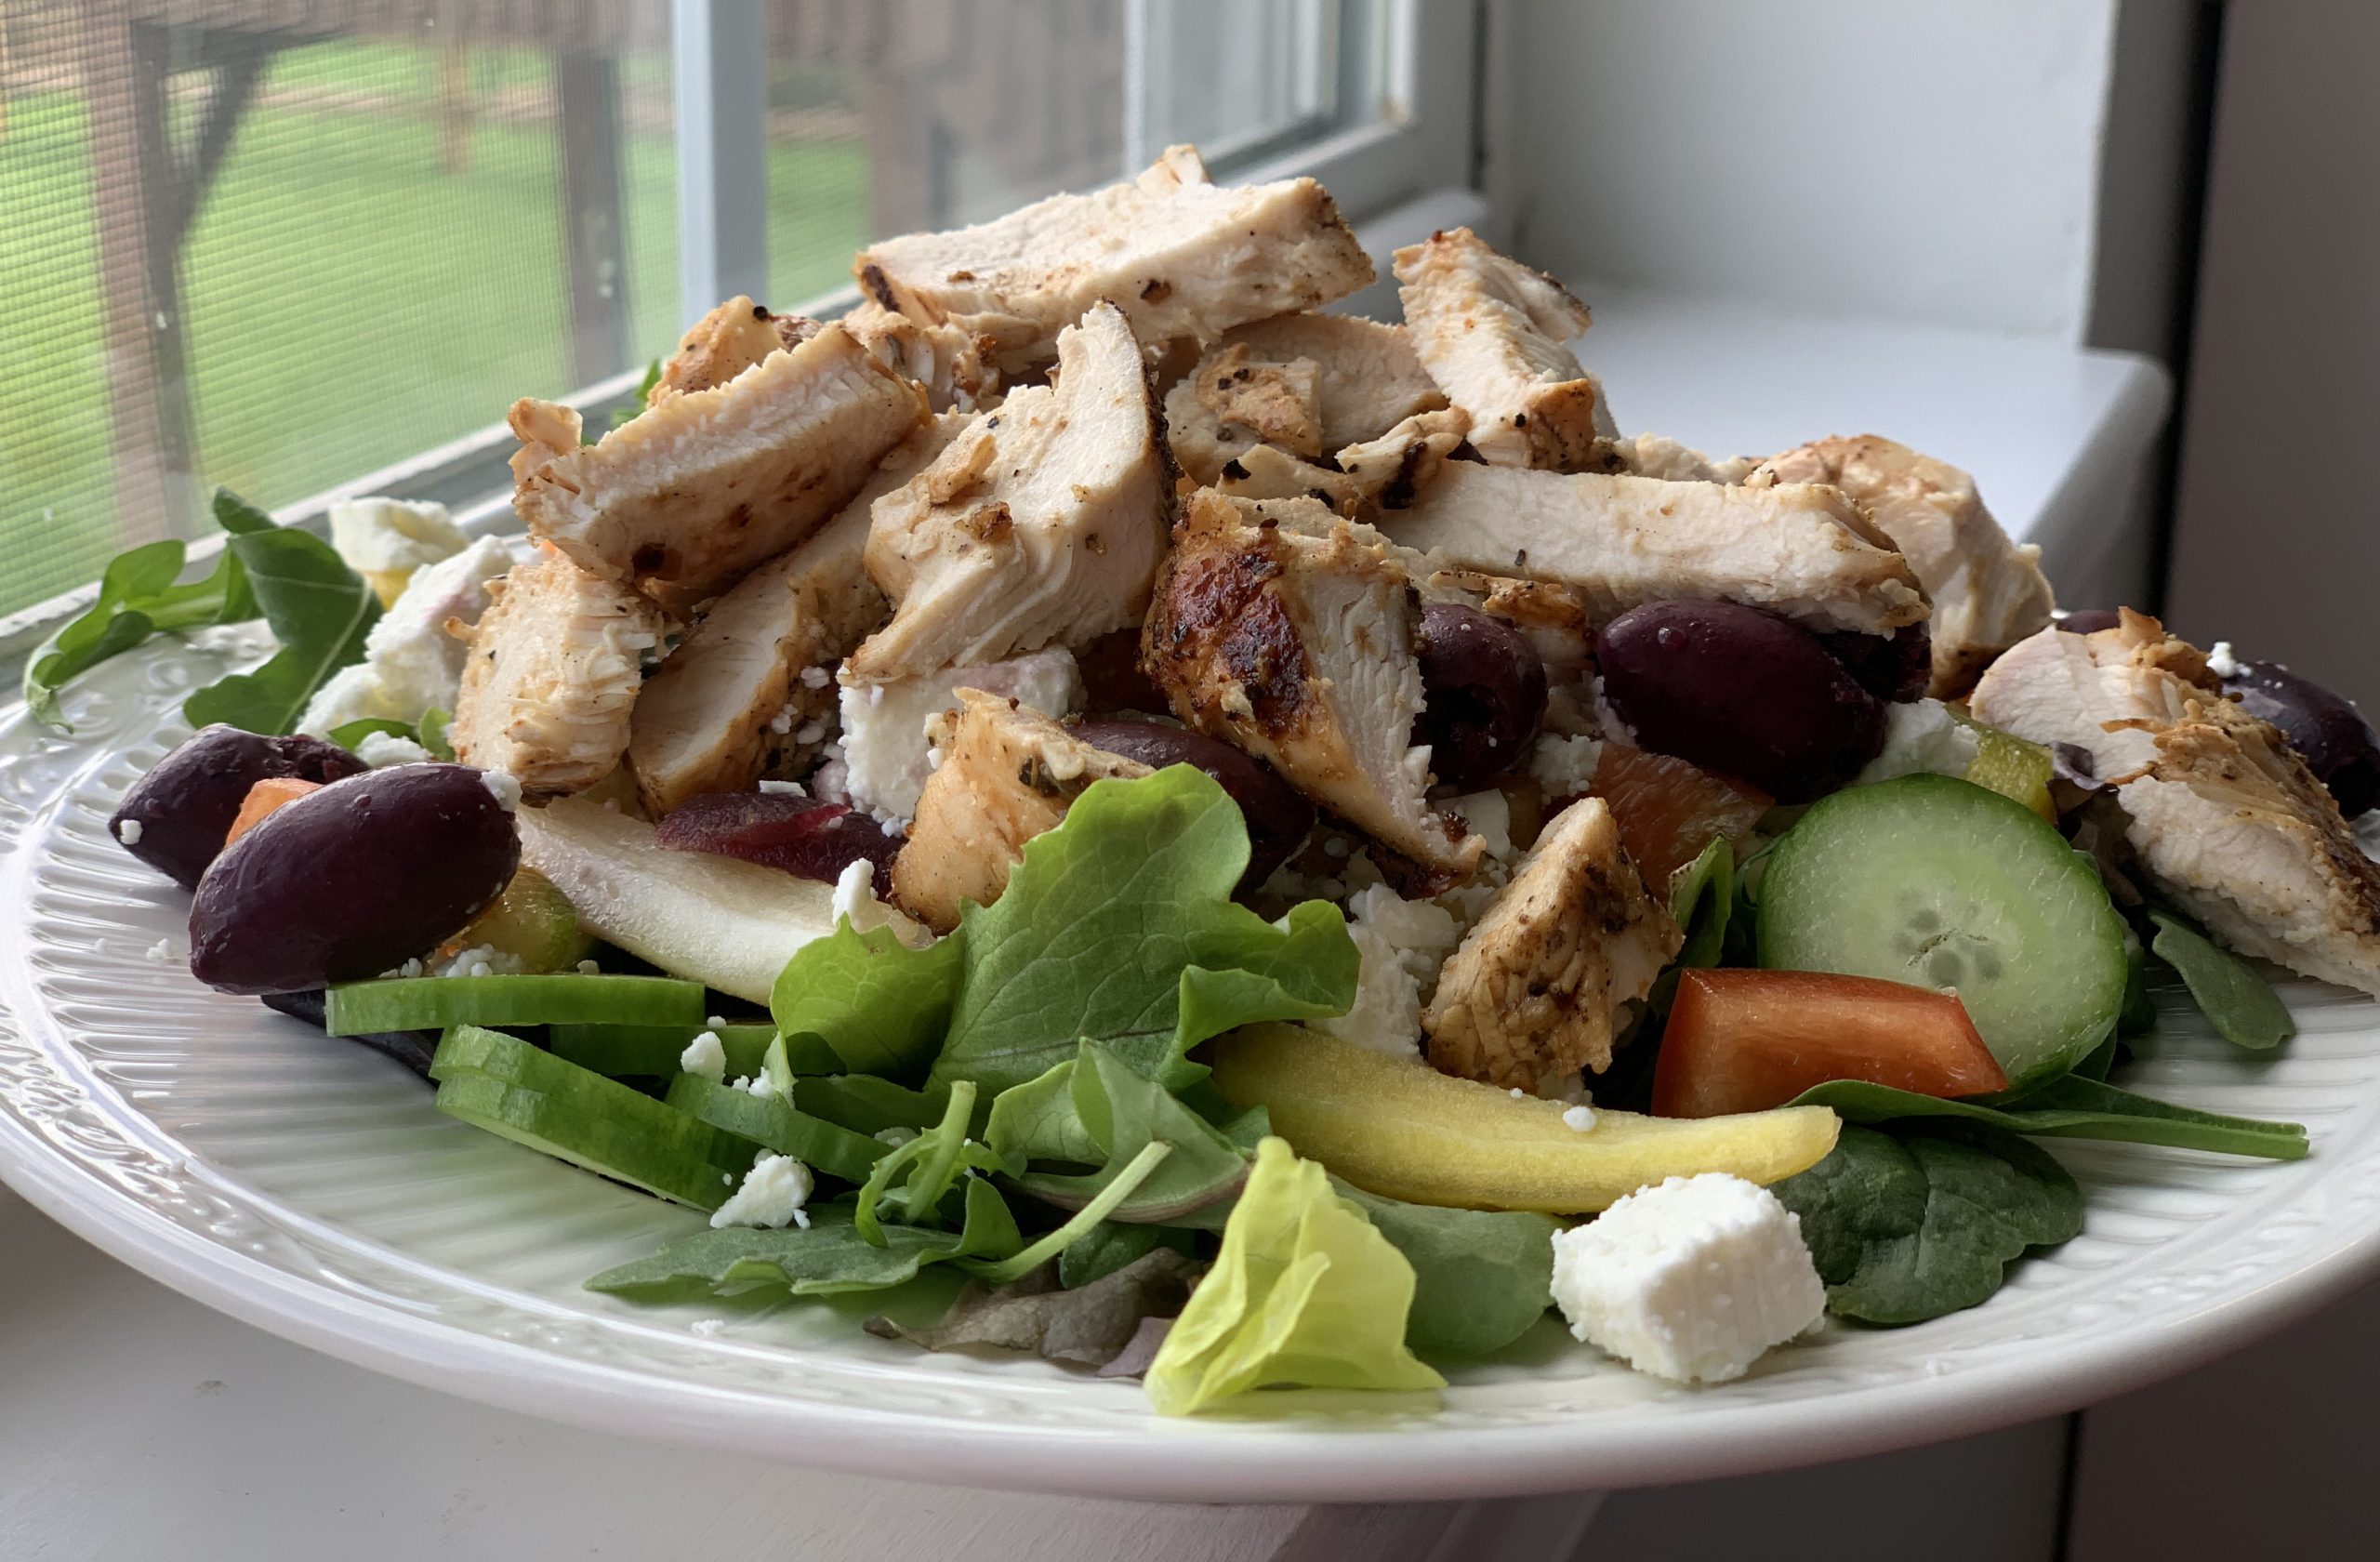
- Lunch
- Dinner
- Garlic White Wine Seafood Pasta
- Fish Tacos with Chipotle Crema, Pickled Radishes, & Cilantro
- Canning Tomatoes for Beginners – Quick and Easy!
- Homemade Italian Pasta Sauce
- Butter Garlic Mushroom Quinoa
- Hearty Lentils and Rice
- DIY Small Holiday Dinner Ideas: Perfectly Roasted Chicken in 40 minutes.
- Honey Roasted Acorn Squash
- Spicy Shrimp Tacos with Pineapple Salsa
- Dessert
- Beauty